How to Use Cloudflare SSL in Full Strict Mode for WordPress Free?
By WNW SEO | Wordpress, | 0 CommentsWe all know how important it is for any website to have an SSL (Secure Socket Layer) certificate. Usually, it comes at an extra cost. However, if you get it from Cloudflare, you can have it for free too. Let’s see how. Cloudflare has many packages to offer. The free plan is actually meant for personal blogs and websites. However, there’s a hack to use it for your website too. This is exactly what we’ll be exploring here.
Step 1: Add Your Domain
Go to Cloudflare and add your website here. Select the free plan when prompted.Step 2: Update Your Server Name
This step may not apply to everyone. When you add your website to Cloudflare, it reviews your existing DNS records. If your hosting provider is different, you’ll have to replace the DNS with Cloudflare. Just follow the instructions you get, till you get a final confirmation that your site is now under the protection of Cloudflare.Step 3: Collect your Cloudflare Origin Certificate
Go to the SSL/TLS section now in order to collect your certificate. The default option you’ll get here is to allow Cloudflare to generate RSA private key and a CSR. Proceed with it and collect your certificate. You’ll have to save the details on Notepad before you move to the next step.Step 4: Upload the Certificate on Your Website
Now, you open the C-panel of your website, go to Security and click on the SSL/TLS button. Here, you go to Certificates (CRT) to upload the origin certificate you collected in the previous step. You’ll be asked to copy-paste the details. Save it once you’ve pasted them properly.Step 5: Upload the Private Key
Once your certificate has been saved, you come back to the original options and click on Private keys (KEY) this time. Copy-paste the details that you collected from Cloudflare in your Notepad file and save it.Step 6: Final Installation of Certificate
After your private key is saved, you return to the SSL Manager once again. Now, you hit the option “Install and Manage SSL for your site (HTTPS)”. Click on the button that says “Browse Certificate” and choose the domain for which you just uploaded your certificate. As soon as you do that, you find the certificate you just uploaded and click on “Use Certificate”.Step 7: Install the WordPress Plugin Really Simple SSL
From the main C-panel of the website, you go to the plugin section and install Really Simple SSL. This plugin helps to activate the SSL certificate you just uploaded on the site.Step 8: Change the Mode to Full Strict
You need to ensure that your SSL/TLS encryption mode is Full Strict. You’ll probably get some issues so you need to hit on the button “Reload over https” above. This will log you out of the dashboard. Log in once again and go to the notification you receive to migrate to SSL. You’ll also have to enable 301 .htaccess redirect in the settings and save it.Step 9: Install Better Search Replace Plugin
This plugin will help you update your URL from “http” to “https”. Select all the tables, uncheck on case-sensitive, check on “Replace GUIDs?” and uncheck “Run as dry run?”.Step 10: Enable it from Cloudflare
You go to Cloudflare again and check on the options “Always use HTTPS” and “Automatic HTTPS Rewrites”.These 10 steps are very simple to follow as it only requires you to click a few buttons. Within a few minutes, you get a free SSL certificate for your website for a lifetime! Also Read- REACT NATIVE VS NATIVE: WHAT’S BETTER FOR NATIVE MOBILE DEVELOPMENTMORE

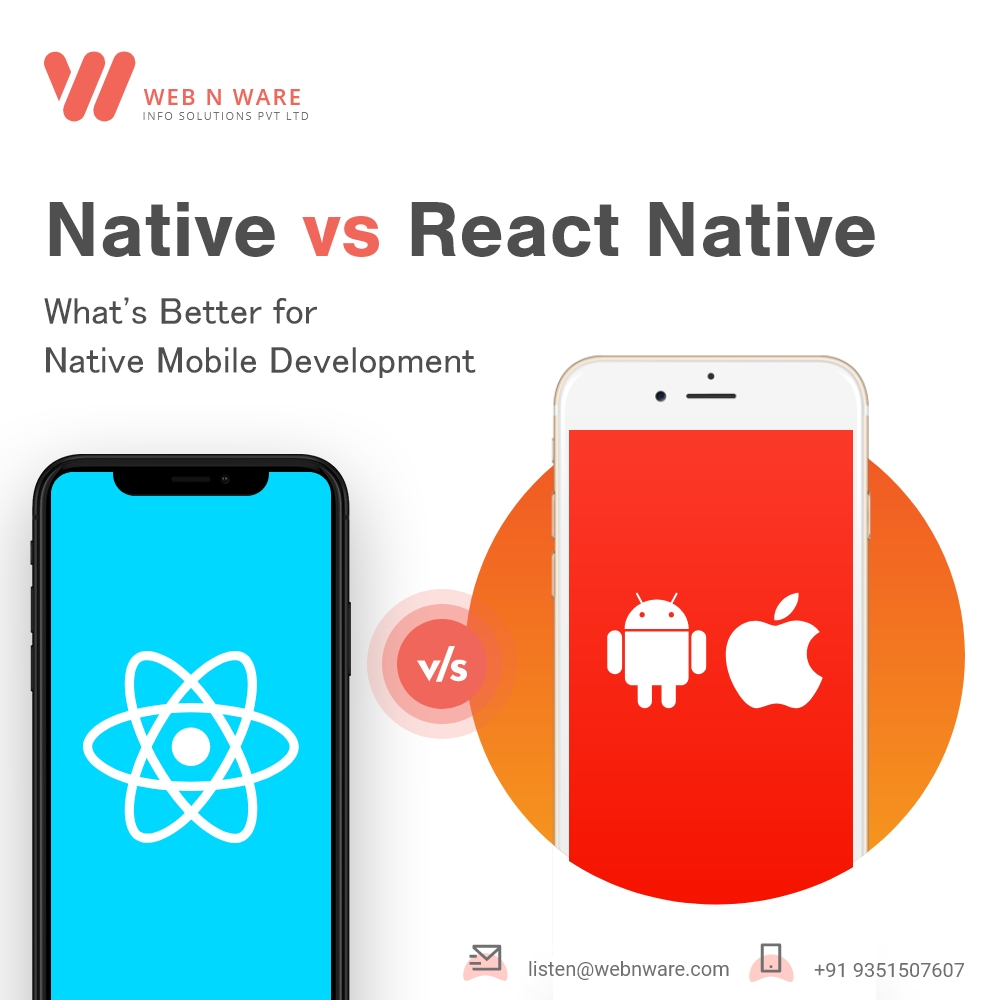
React Native vs Native: What's Better for Native Mobile Development
By WNW SEO | Web Development, | 0 CommentsSmartphones have taken over the world in the last decade. There are almost 3 billion smartphones being used by people today. This number is rapidly rising everyday and doesn’t seem to slow down anytime soon. This has given rise to new business opportunities in the mobile app development space. Many new companies have come up creating new games, apps and services specifically for smartphones. Developers have two options when choosing for a framework for mobile development. Those two options are React Native and Native. Both these options are quite popular amongst the developers. This makes it very confusing to decide which one to choose. Today, let’s look at how these two frameworks fare compared to each other.
React Native Framework
React native framework has gained a lot of popularity in the last 4 years. The community has more than 2,000 contributors. This includes some of the largest companies in the world like Pinterest, Skype, Uber, Facebook and Brex. Their widespread adoptability is credited due to their ease of use.Advantages
Using React Native Framework gives you 2 major benefits:- The biggest advantage of this framework is the cross platform support available out of the box. Once you are done developing, the app can be run both on android and IOS. This saves a lot of time and money for developers. The planning developing and testing time is reduced allowing developers to create apps quicker.
- There is option to support platform specific functions too. With the help of native modules, developers can use the platform specific feature for added functionality.
Native Framework
In the Native Framework, the app uses JavaScript to run the app. This used to be the most popular framework used by developers. The app developed through native framework are specially for the Mobile OS it has been developed for. This has many advantages to the developer.Advantages
Using the Native Framework benefits you in 3 ways:- Performance is a big area where React Native wins. It is well designed to support 3D/AR/VR technology. It also runs data and animation heavy apps easily. With this, you can take on any heavy app on your phone.
- You get out of the box access integration for all abilities of the phone. It utilizes all the features of the phone hardware giving it the utmost power. This helps create better apps for the developers.
- Whenever a new feature is launched either on IOS or Android, it will be available straight away. This way, developers can create better products and apps with ease. It gives them enough time to test the app for any bugs and fixed before the final release to the consumers.
What Would You Go For?
Today the smartphone market is divided amongst two major OS i.e., iOS and Android. For any developer to succeed, they need to have their app developed for both the platforms. This where React Native framework is most useful. It will help save you a lot of time and money. However, if you want your customers to have the best experience using your apps, then you should go the Native framework road. You will have to develop apps from scratch for both iOS and Android separately but your customers will be happy and satisfied. So, what is it that you are looking for? MORE
How to Install WordPress Locally with XAMPP?
By WNW SEO | Wordpress, | 0 CommentsToday, almost all web developers have heard about WordPress. It is one of the most popular content management solutions, being used by more than 10 million websites worldwide. Due to this popularity, it has got a lot of plugins and themes which make it easier to use. One such plugin is XAMPP.


